
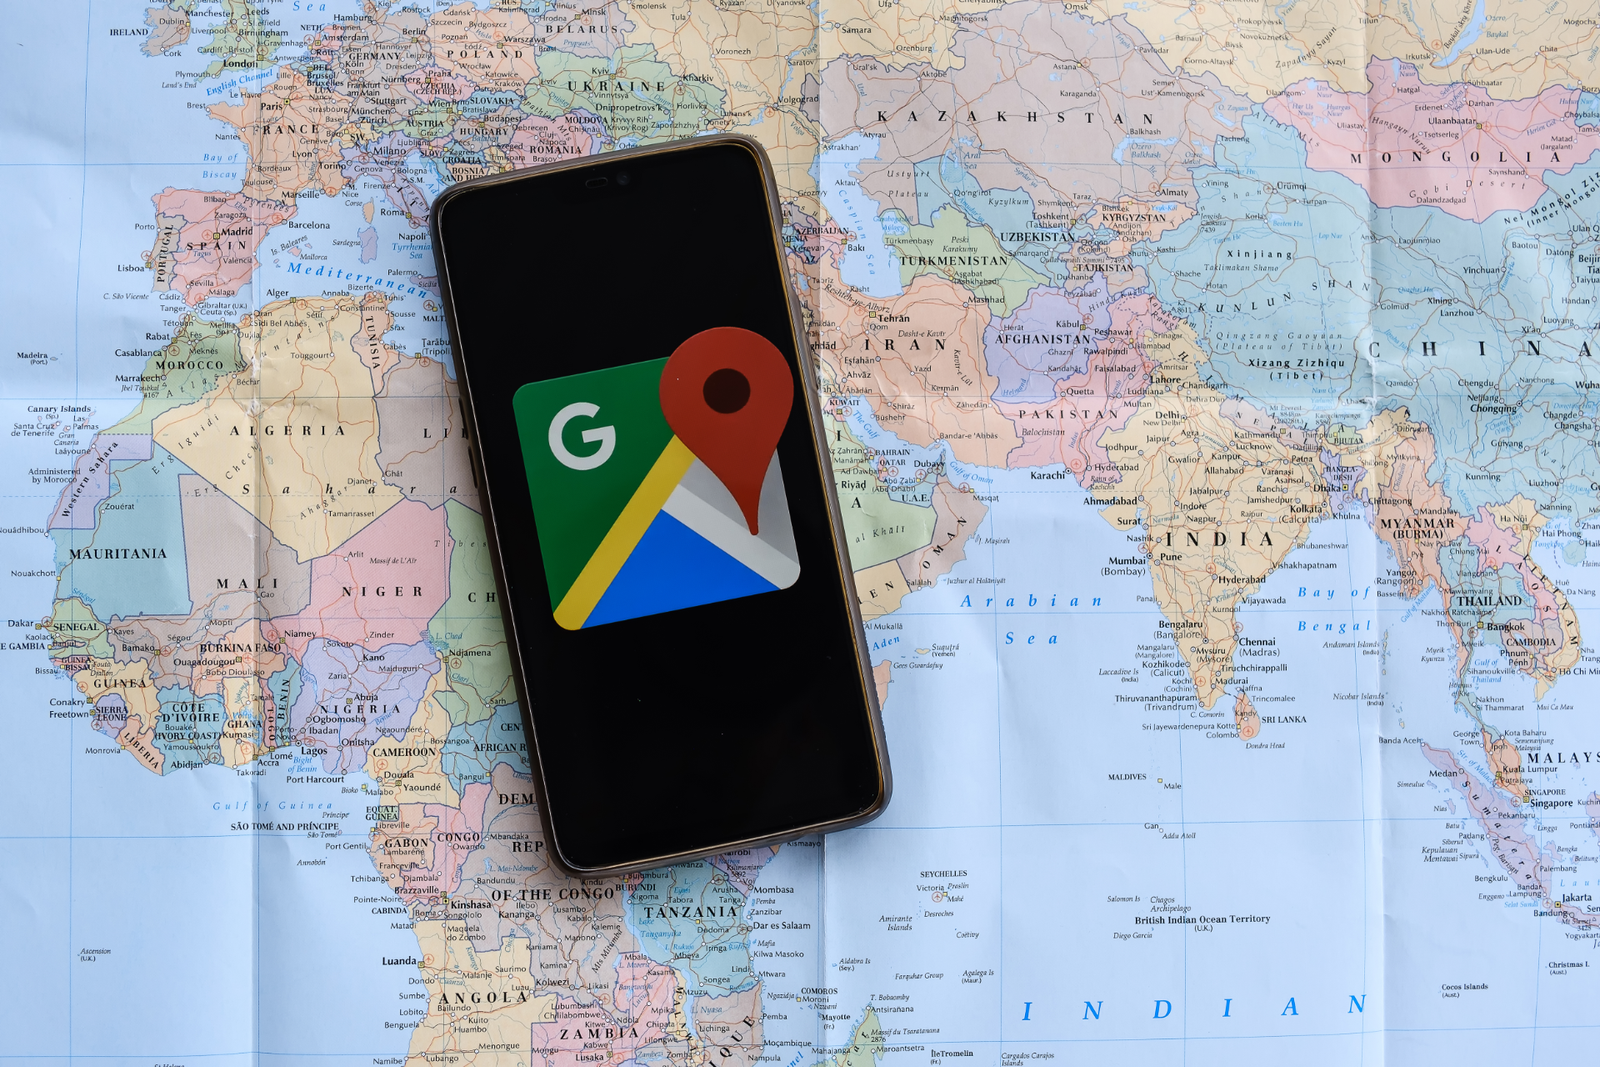
If you’re looking to track your mileage on a regular basis, you might want to consider using the Google Maps Timeline to create a simple mileage log. This feature allows you to track your mileage as you drive, and even export your data to a spreadsheet or vehicle mileage log book.
What is the Google Maps Timeline and how does it work?
Google Maps Timeline is a feature that allows users to see a timeline of events related to a specific location. It can be used to track changes in the location’s history, such as additions or removals of buildings or roads. The Google Timeline history is a useful tool for researchers, historians, and others who want to better understand the history of a location.
The Google Maps Timeline shows you your timeline of events, not a timeline of time. For example, the timeline will show events that happened at the location on any given day, but it won’t show how long it took for those events to happen. Instead, the timeline shows how frequently different events have occurred at the location over the past few years.
Your Location History on Google Maps
To access your current location, open Google Maps and type “where am I?” into the search bar. Google Maps will display your current location on a map.
To view your recent locations, open Google Maps and type “history” into the search bar. Google Maps will display a timeline of your location history. You can scroll through the timeline to view each location.
You can also view your past locations by clicking on the Locations tab at the top of the Google Maps screen. This tab will display a list of all of your past locations, along with information about each location.
How to use the Google Maps Timeline as a Mileage Log Backup
The Google Maps Timeline is a great tool that can be used to keep track of your mileage. By using this tool, you can create a mileage log book of your miles driven, and use it as a backup if something happens to your regular mileage log. Here’s how to use the Google Maps Timeline to keep your mileage log:
- Open Google Maps Timeline.
- Click on the “Create a new timeline” button.
- On the “Create a new timeline” screen, enter a name for your timeline, and click on the “Create timeline” button.
- On the “Timeline” screen, click on “Add events”.
- On your screen, select the category “Miles Driven,” then click on “Add event”.
- Enter the details of your mile driven, and click on the “Add event” button.
- Click on the “Create timeline” button to create your Google Maps Timeline.
Now, you’re ready to start tracking your miles driven. You can use Google Maps Timeline to add notes about your drive, and you can also use it to graph your mileage over time.
Converting the Google Maps Timeline trips into an IRS-Approved Mileage Log
Tracking mileage for taxes is easy with the MileageWise mileage tracker app. This is an essential tool for anyone who has business miles and needs to track their progress in order to get an accurate vehicle mileage tax deduction claim.
The app is also useful for those who forget to track their business miles and need a mileage log assembled from scratch – something that MileageWise can do for you!
If you need an IRS-ready mileage log for a mileage tax deduction, then download the MileageWise mileage tracker app on Google Play or the App Store.

